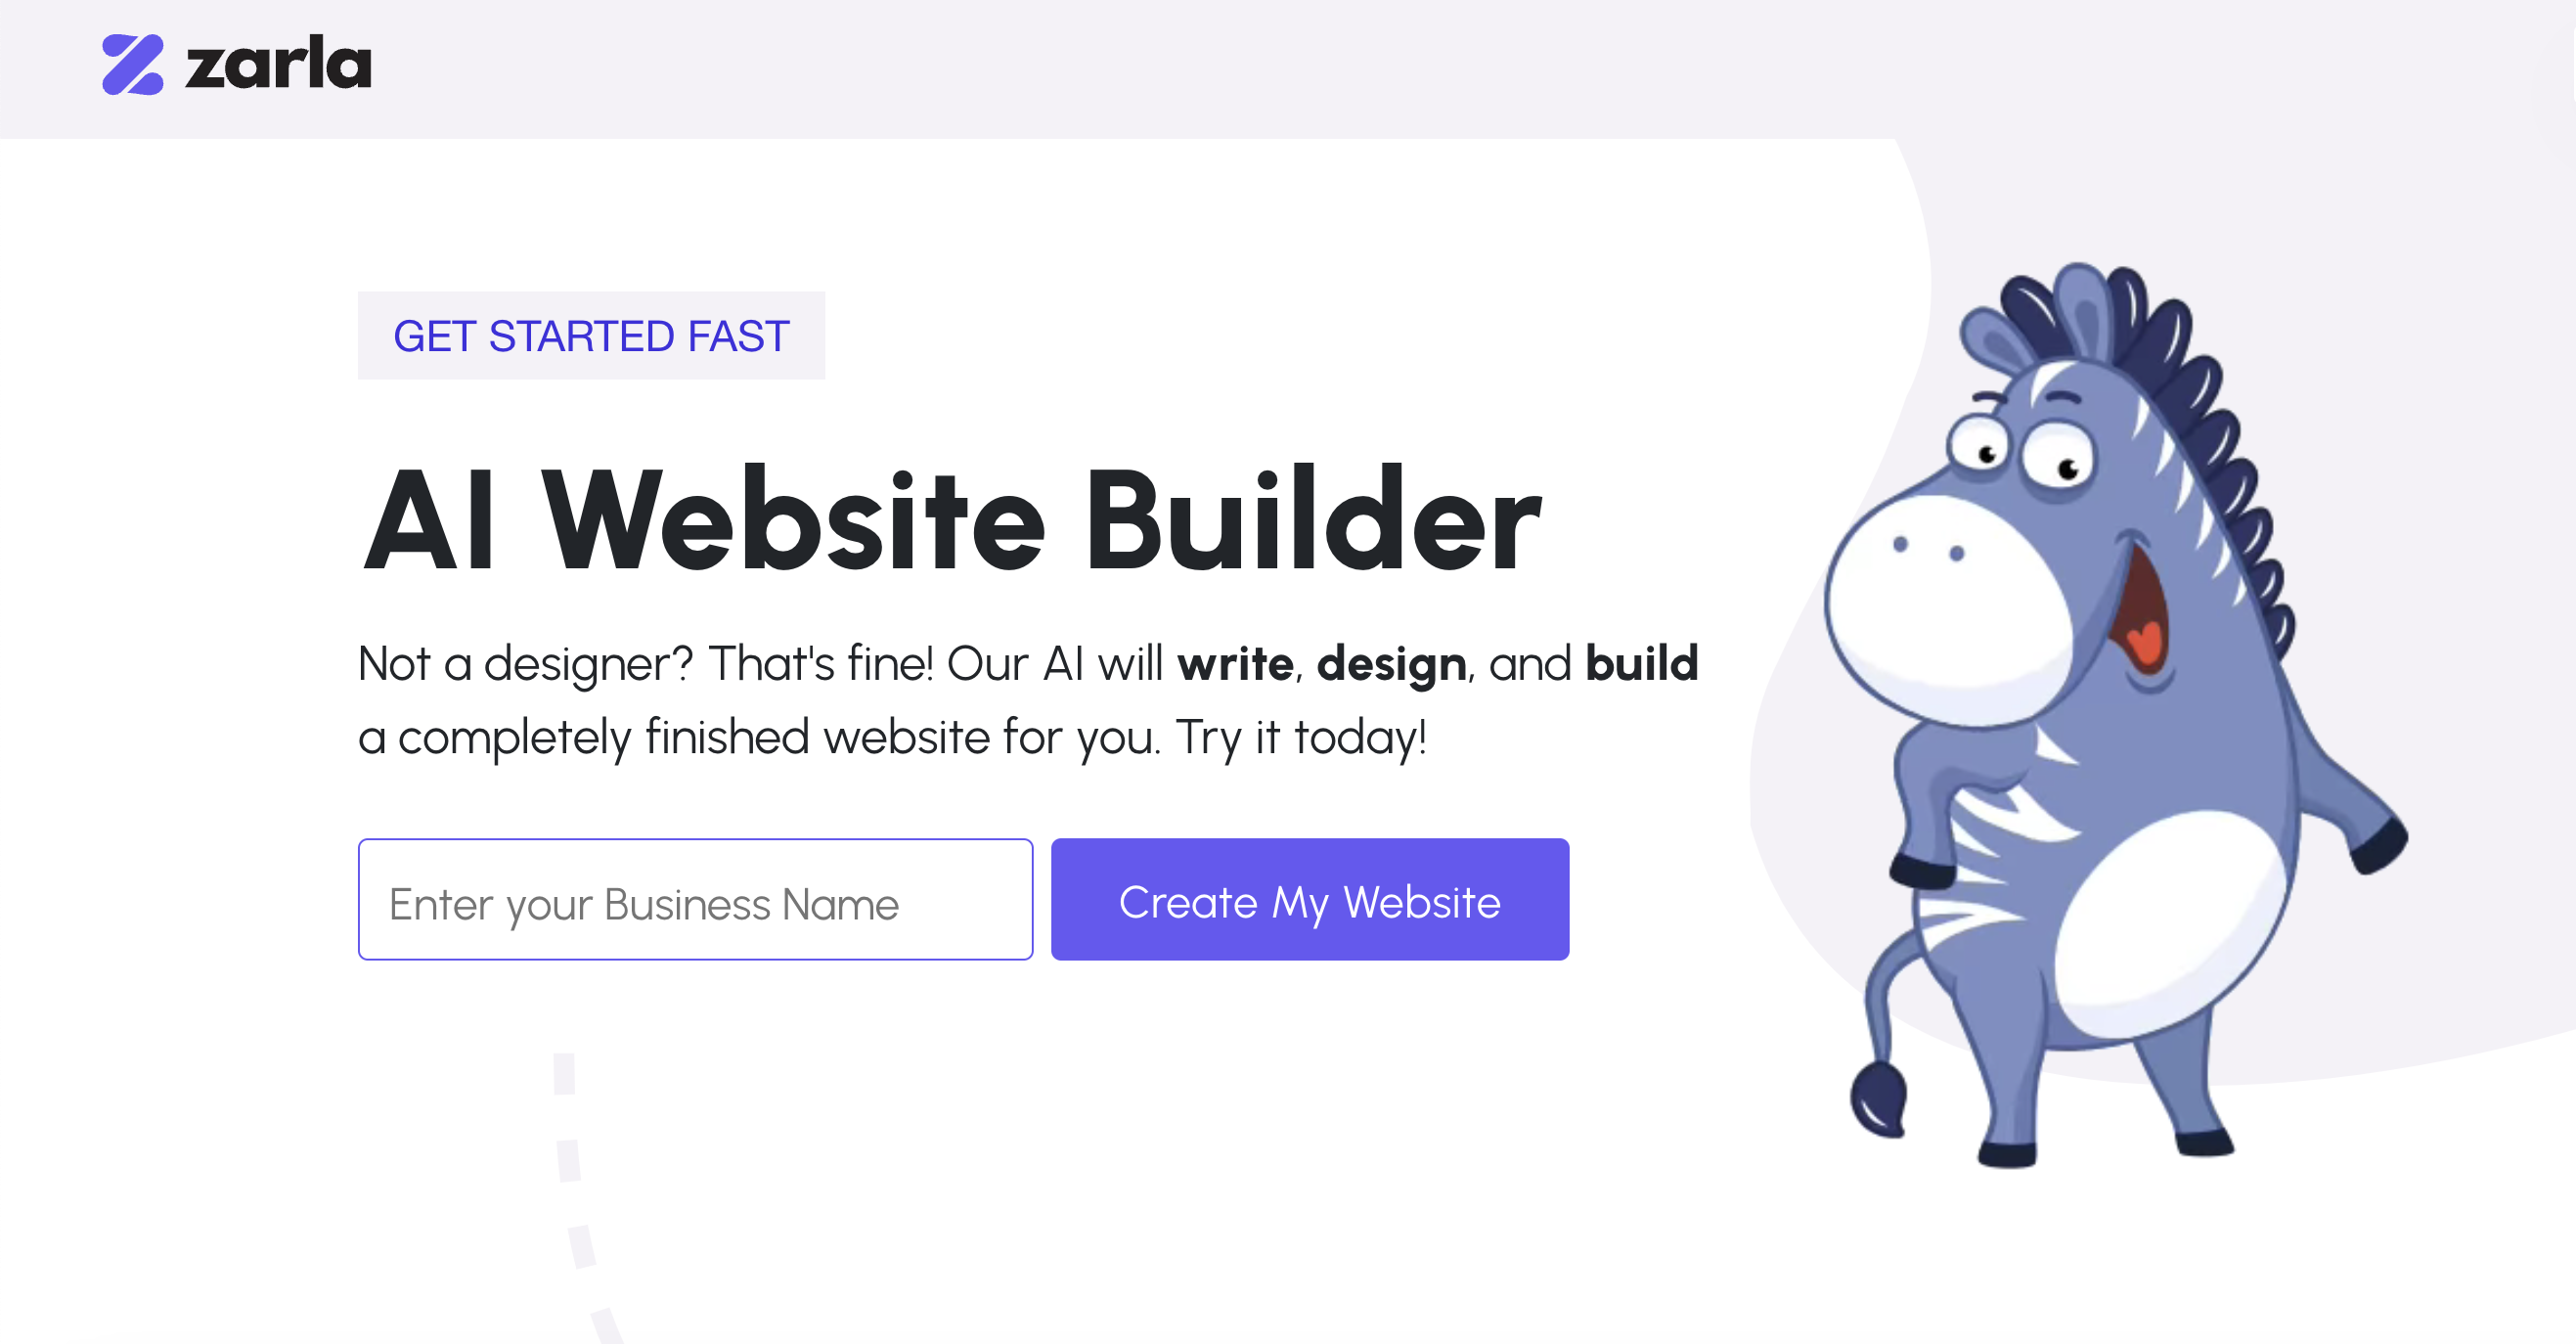
Creating a website can seem like a time-consuming process, especially if you’re not a web design expert. But with Zarla, an AI-powered website builder, you can create a professional website quickly and easily. This tutorial will guide you through building a website with Zarla, covering everything from selecting a business type to customizing your site’s design, adding testimonials, and optimizing for SEO.
Why Choose Zarla?
Zarla offers many benefits for small businesses, freelancers, and anyone looking to create a website quickly:
- Ease of Use: No technical skills required—Zarla’s intuitive interface makes it easy for anyone to build a site.
- AI-Powered Customization: Zarla’s AI helps with layout and design suggestions based on your business needs.
- Built-in SEO Optimization: With Zarla, your site is automatically optimized for search engines, helping you attract more visitors.
- Mobile Responsiveness: Websites built with Zarla look great on all devices, from desktops to smartphones.
Now, let’s get into the step-by-step guide to creating your website with Zarla.
Step 1: Getting Started with Zarla
To start building your website, click the link below and sign up for an account. You’ll only need an email address, and exploring the builder is free.
- Sign Up: Enter your email address and create a password.
- Choose Your Plan: Zarla offers several plans, including a free version to get you started. Pick the plan that best fits your budget and business needs.
Once you’ve signed up, you’ll enter the Zarla dashboard to customize your website.
Step 2: Select Your Business Type
Zarla makes website creation easier by tailoring designs based on your business type. For example, if you’re a consultant, it’ll suggest layouts suited for service-based businesses. If you’re an online retailer, it’ll recommend designs optimized for product showcases.
Choose a Business Type: In the Zarla dashboard, you’ll be prompted to select a business type. Options might include:
- E-commerce
- Service provider
- Personal blog
- Portfolio site
- Restaurant or Café
AI-Generated Layouts: Based on your selection, Zarla’s AI will suggest layouts, fonts, and color schemes that best fit your business.
Step 3: Customize Your Website Design
Once you’ve chosen a business type, it’s time to make your website unique by customizing its design. Zarla offers easy-to-use tools for adjusting colors, fonts, images, etc.
-
- Choose a Template: Zarla has a range of pre-made templates designed for different industries. Pick one that aligns with your brand’s style and tone.
- Customize Colors and Fonts: Use Zarla’s color and font tools to match your brand identity. Choose from a variety of styles that fit your business, from clean and modern to fun and vibrant.
- Add Your Logo: If you have a logo, upload it to the header of your website. If not, Zarla’s AI can help generate a logo that fits your brand.
Zarla’s AI makes design suggestions as you go, offering color and font combinations to give your site a cohesive look. This can be especially helpful if you’re unsure about design.
Step 4: Add Content to Your Website
Next, you’ll add content to your site. This includes text, images, and other media that showcase your business.
- Homepage Content: Your homepage is the first thing visitors will see. Include a brief introduction to your business, services, or products.
- About Section: Use the About section to tell visitors more about you or your business. Keep it concise but engaging.
- Services or Products: If you offer services, describe each one in detail. Zarla allows you to add product images, descriptions, and prices for e-commerce sites.
- Blog (Optional): If you plan to publish blog posts, add a Blog page. Blogging can help with SEO by bringing in more traffic.
Adding content to Zarla is simple. Just click on any section, start typing, and customize the text size, style, and color. You can also add images and videos to make your content more engaging.
Step 5: Add Testimonials
Adding customer testimonials to your website builds trust and encourages potential clients or customers to take action. Zarla makes it easy to include a dedicated section for testimonials.
- Go to the Testimonials Section: In Zarla’s editor, navigate to the Testimonials section.
- Add Quotes and Names: Enter customer quotes along with their names and, if possible, a small photo.
- Adjust Design: Customize the look of your testimonials to fit with the rest of your website’s design. You can change the font, text color, and background.
If you don’t have testimonials yet, consider reaching out to past clients for feedback or add testimonials as they become available.
Step 6: Set Up the Contact Section
Having a clear and accessible contact section is essential for business websites. Zarla allows you to set up a professional contact section in a few clicks.
- Add Contact Information: Include your phone number, email address, and business address if applicable.
- Add a Contact Form: Zarla provides a customizable contact form that allows visitors to reach out directly through your website.
- Link to Social Media: Add links to your social media profiles to encourage more engagement.
Make sure all contact details are correct and up-to-date so potential customers can easily get in touch.
Step 7: Optimize for SEO
Zarla’s AI helps with basic SEO optimization to ensure your website is search-engine friendly. You can further improve SEO by adding keywords and optimizing each page.
- Add Keywords: Research keywords related to your business and include them in page titles, headings, and descriptions.
- Optimize Meta Descriptions: Write a clear and concise meta description for each page. Meta descriptions appear in search results, so make sure they are inviting and informative.
- Use Alt Text for Images: Add descriptive alt text for all images. This helps search engines understand the content of your images, improving your site’s visibility.
SEO helps potential customers find your site online, and Zarla’s built-in tools make optimization straightforward.
Step 8: Check Mobile Responsiveness
More than half of internet traffic comes from mobile devices, so it’s essential that your website looks good on all screen sizes. Zarla’s AI automatically optimizes your site for mobile, but it’s still important to double-check.
- Preview Mobile Layout: In Zarla’s dashboard, switch to the mobile preview mode to see how your site looks on a phone or tablet.
- Adjust Layout if Necessary: Make sure images, text, and buttons are easy to view and interact with on mobile. Adjust any elements that don’t look right.
Ensuring mobile responsiveness improves user experience and helps your site rank better in search results.
Step 9: Publish Your Website
Once you’ve customized your design, added content, and optimized for SEO, it’s time to launch your site!
- Preview Your Website: Before publishing, go through your entire website to ensure everything looks good. Make sure links work and the text is free from typos.
- Click Publish: When you’re ready, click the “Publish” button. Zarla will handle the technical aspects so your website goes live immediately.
- Promote Your Website: Share your website on social media, email newsletters, or other marketing channels to start driving traffic.
Final Thoughts
Creating a website with Zarla is fast, simple, and doesn’t require any coding knowledge. With its AI-powered customization, SEO tools, and mobile responsiveness, Zarla is a great choice for small businesses, freelancers, or anyone looking to create a professional website in minutes.


